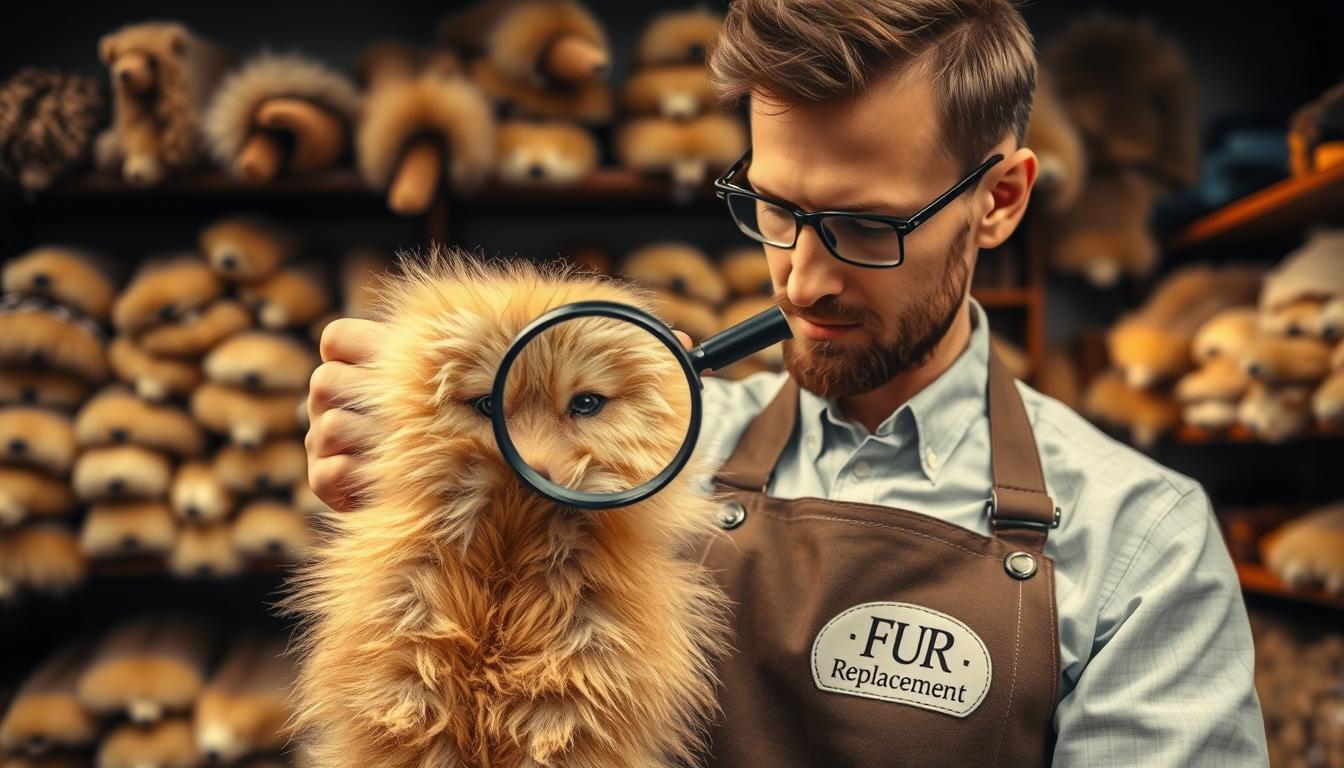
There are moments when a single detail can restore the confidence you felt in a beloved coat. We know that feeling. It drives our care and craft at FUR REPLACEMENT™.
We create handcrafted, cruelty-free pieces that bring quiet luxury back to your jacket and collar. Each item blends Scandinavian clarity with durable design. The result is a refined edge that sits naturally at the neck and frames the face.
This page guides you through one clear step sequence to achieve a couture finish. You will learn how to measure, baste, and stitch with checkpoints that prevent bulk and reduce shedding.
Whether restoring a classic parka or refining a city coat, our goal is a seamless, lasting update. Discover why pile density, fiber memory, and balanced tension matter when choosing between faux fur and other options.
Key Takeaways
- FUR REPLACEMENT™ offers premium, handcrafted replacements with ethical materials.
- The tutorial covers measuring, cutting, basting, and final stitching.
- Focus on pile density and fiber memory for lasting wear and natural movement.
- Expert checkpoints reduce bulk and minimize shedding during construction.
- Finish choices ensure the trim complements the collar and neck line.
Why Choose FUR REPLACEMENT™ for Timeless, Cruelty‑Free Fur Trim
FUR REPLACEMENT™ blends Scandinavian restraint with artisan craft to elevate every coat edge. We design pieces that read as quiet luxury and perform through regular wear.
Ethical materials and careful finishing matter. Our faux fur options emulate the luster and body of real fur while avoiding harm. Each item is hand-finished so the pile holds shape and resists matting.
Scandinavian design, durability, and luxury aesthetics
- Clean lines and minimal profiles that frame the face without bulk.
- Consistent dyeing and pile direction for predictable pairing with a collar or coat.
- Durable construction that maintains volume through weather and wear.
Ethically sourced, handcrafted, and cruelty‑free materials
We source materials with care and finish every piece by hand. This keeps quality high and results consistent across our page of offerings.
| Feature | FUR REPLACEMENT™ | Typical real fur | Common faux options |
|---|---|---|---|
| Ethics | Certified cruelty‑free | Animal sourced | Usually cruelty‑free |
| Durability | High; artisan finish | High; requires special care | Medium to high |
| Look & feel | Natural luster, uniform pile | Authentic texture | Good mimicry; varies by quality |
Understanding the Project: sew on fur trim for hood
A successful project begins with a clear goal: create a clean, premium frame that complements the collar and face. We craft methods to refresh a favorite coat or jacket while keeping lines minimal and balanced.
What readers want: restore, elevate, and personalize parkas, vintage jackets, and cosplay costume pieces. The aim is a plush yet controlled profile that follows the curve around hood without ripples or bulk.
Plan alignment with the collar line and shoulders so the final items sit symmetrically when the hood is up or down. Choose faux fur weight to suit climate: lighter piles for city wear, fuller piles for cold days.
- Goal: a smooth, even edge with pile facing outward.
- Applications: parka, jacket hood, and cosplay costume custom builds.
- DIY tips: anticipate tension at curves and add stay-stitches to keep the edge true.
Tools and Materials Checklist for Faux and Real Fur Trims
Good outcomes begin with the right equipment and a quick test strip. Gather your items and set a clean workspace. A short calibration run saves time and prevents mistakes.
Faux fur vs real fur: feel, pile, weight, maintenance
Faux fur often wins on weather resistance and ethics. It keeps pile memory well and resists moisture better than many natural options.
Real fur has natural sheen and weight, but it needs different care and may require specialist cleaning. Inspect backing stability and stretch when choosing a faux option.
Essentials
- Sewing machine with strong needle options and a spare set of needles.
- Heavy-duty polyester thread and quality hand needles for finishing work.
- Fabric-safe clips, pins, tailoring chalk, and a narrow-edge foot to keep seam allowances uniform.
Optional upgrades and handling tips
- Walking foot, leather or microtex needle, seam ripper, fabric glue, and basting tape make handling dense fur fabric easier.
- Use clips instead of pins on thick pile to avoid skewing the pile direction.
- Keep a lint roller or small vacuum nearby; trimming produces loose fibers that cling to the machine bed.
- Always pre-cut a narrow test strip to set machine tension and stitch length before stitching the coat edge.
FUR REPLACEMENT™ crafts cruelty-free, premium alternatives that match the look and feel of natural fur while emphasizing durability and Scandinavian design. See our page for recommended needle sizes and thread types.
How to Measure Your Hood for an Accurate Trim Fit
Accurate measurements set the foundation for a flawless finish and lasting fit. Take your time and work with the garment laid flat. Mark reference points so each step follows a clear plan.
Measure the edge length and curve of the coat hood
Measure the entire opening along the stitching line, not the outer edge. This ensures the piece follows the true curve of the coat hood.
Record the length from one side to the other, including extra at each end for neat fold-unders or concealed returns. Place notches at tight curves and corners to guide the continuous sewing order.
Accounting for seam allowance, pile direction, and corner turns
Note where the collar meets the hood. Mapping the neck junction prevents bulk near the throat and keeps the profile balanced.
Mark the right side and wrong side of fabric and of the fur so pile faces outward along the edge. Transfer measurements to a paper template that mirrors the hood shape before cutting the final piece.
- Tip: Add seam allowance based on backing thickness—thicker pile needs slightly more to lie flat.
- DIY checklist: total length, midpoint, side notches, end turns, and pile direction.
FUR REPLACEMENT™ emphasizes precision and craftsmanship so your handcrafted piece aligns with Scandinavian-quality standards.
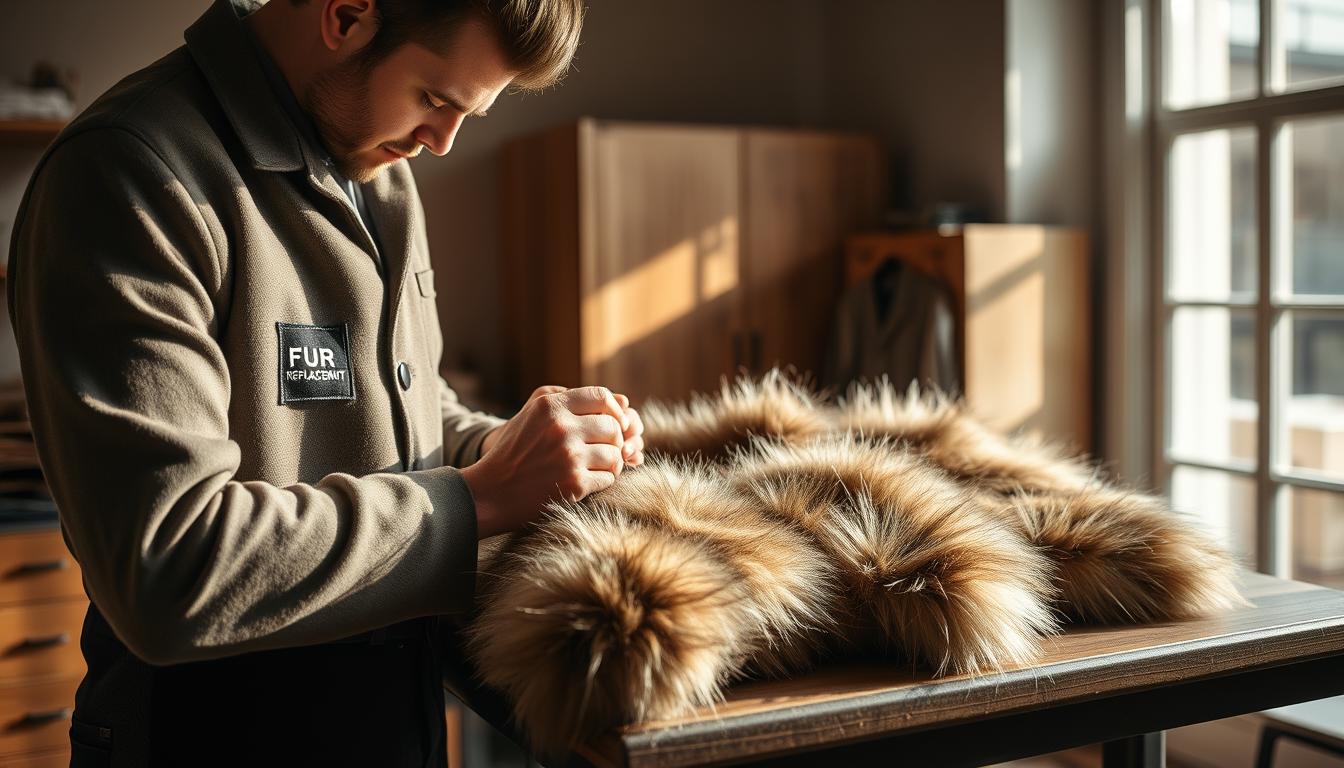
Preparing the Fur Fabric: Direction, Grain, and Cutting Techniques
A precise cut and clear grain direction set the stage for a professional edge. Before cutting, study the pile so the final piece flows naturally around curves. Our handcrafted approach ensures each faux fur behaves like natural material and keeps grain alignment true.

Marking the right side vs wrong side
Identify the right side by sheen and pile direction. Mark arrows and center points on the backing. This keeps the strip aligned with the hood curve and prevents mismatched nap when you attach the piece.
Cutting the strip with a craft knife
Score from the backing and cut slowly. Use a craft knife to remove a narrow strip to length. This protects pile tips and gives a cleaner edge that resists choppy ends and excessive shedding.
Trimming bulk at the seam line
Brush pile back along the seam line and trim only the backing or underfur. Reduce bulk at corners to avoid thick folds during stitching. Test an offcut to set knife pressure and confirm clean cuts before trimming the final piece.
- Quick checklist: mark grain, cut from backing, trim seam bulk, test pressure, confirm length.
Pinning and Basting: Secure the Trim Before You Sew
Anchor the middle of the strip and ease toward each edge to maintain balanced tension. This keeps the profile even and reduces puckering as you move into machine work. Work slowly and check symmetry as you go.
Aligning one side from the center to the ends
Start alignment at the center notch and work to one side. Then return to the center and align toward the other end. This produces perfect symmetry and prevents the backing from stretching.
Using clips and long basting stitches to control furry edges
Use fabric clips instead of pins. Clips protect the pile and keep layers stable around curves and tricky areas. Roll pile back at the seam line before basting to avoid trapping fibers.
- Hand-baste with long, visible stitches so you can ease or remove them during the machine pass.
- Keep tension gentle; a hard pull can warp the backing and make a wavy finish.
- Label any variable-width segments and mark end returns to preserve design flow.
- Check both ends finish cleanly and tuck under for a polished interior.
Quick DIY checklist: center marks, side notches, return allowances, pile direction, and clips in place. When these items are ready, move to machine or hand sewing with confidence.
Machine Sewing vs Hand Sewing: Choose the Best Method
Deciding between machine work and careful hand finishing determines the final profile and durability of the edge.
Machine setup: stitch length, walking foot, needle choice
Use a longer stitch length and a walking foot when the main run must cover thick pile. A walking foot evens feed across layers and prevents bunching.
Choose a heavy needle rated for dense fabric and test on a scrap. Calibrate tension and stitch length before the first step to avoid tunneling around the hood.
Hand stitching: backstitch and ladder stitch for hidden seams
Hand finishing adds precision. Use a backstitch at stress points and a ladder stitch to close visible joins invisibly. This creates a couture interior with strong holds.
- Machine the main run, then hand-finish corners and tight areas.
- Brush free fibers between steps so pile stays lofty and clean.
- Use a narrow-edge foot to keep seam allowances consistent near thick backings.
- Prepare with notches and long basting to make the machine step smoother in any diy project.
Our artisan-first ethos blends precise machine work with refined hand finishing to achieve couture-level results. Visit www.fur-replacement.com to learn more about our approach and available items.
Step‑by‑Step: Attach Faux Fur Trim Around the Hood Edge
A confident first pass sets the tone: align, ease, and stitch with a gentle feed to preserve the profile. Work from the center outward so tension stays balanced and the pile faces outward around hood curves.
Positioning the pile and matching the curve
With the right side of the strip facing the right side of the coat hood, match center notches. Confirm pile direction flows naturally around the opening.
Use clips and long basting stitches to hold the fabric. This prevents slipping when you move to machine work.
First pass, pivots, and reinforcing stress points
- Start at the center and stitch toward one side, keeping a steady seam allowance.
- Slow down at corners and pivot neatly to avoid tucks near the coat hood junctions.
- Reinforce high-wear areas such as toggles and cord channels with backstitches or a short run of dense stitches.
Final pass, brushing, and finishing
After the initial run, brush trapped furs from the seam with a wide-tooth comb. This frees pile and reveals a natural edge.
Topstitch or ladder-stitch joins as needed to hide seams and preserve loft. Finish by steaming lightly from a distance, then shape by hand for an even frame.
| Action | Why it matters | Tip |
|---|---|---|
| Align center notches | Ensures symmetry around hood | Mark both strip and coat before clipping |
| Stitch outward to one side | Balances tension | Keep stitches parallel to backing |
| Reinforce stress points | Prevents early failure near toggles | Use backstitch or short dense runs |
| Brush and final pass | Restores pile and hides joins | Comb gently; steam from distance |
FUR REPLACEMENT™ products are crafted to seat perfectly along a hood curve, mirroring natural-fur aesthetics with cruelty-free materials. Discover more at www.fur-replacement.com.
Special Cases: Parka, Jacket Hood, and Removable Trim Designs
Modular trims demand deliberate design so they remove cleanly and return without distortion. We craft pieces engineered for zipper‑off panels, snap systems, and tube channels while keeping a luxury look.
Installing removable systems
For parkas with zipper‑off hoods, stitch the band to a separate facing. This keeps the shell stress-free and makes seasonal swaps simple.
- Snap‑on designs need evenly spaced hardware and reinforced backing to keep the trim hood silhouette smooth.
- Mark side points and end returns so the detachable piece seats flush and resists twisting.
- Reinforce stress zones on heavier jackets and coats with suitable interfacing for winter snow use.
Creating a tube channel
Create a narrow tube along the edge to house a removable insert. A well‑sized tube protects the piece and lets you pack the insert flat when you travel.
- Choose backing widths that feed smoothly and won’t torque the hood when opened or closed.
- Balance pile density if you want dramatic volume so visibility and drape stay controlled.
- Keep spare items—snaps and sliders—on hand; modular systems perform best with intact hardware.
Need help choosing a solution? We design modular items to pair with parkas and jackets. Explore options at www.fur-replacement.com.
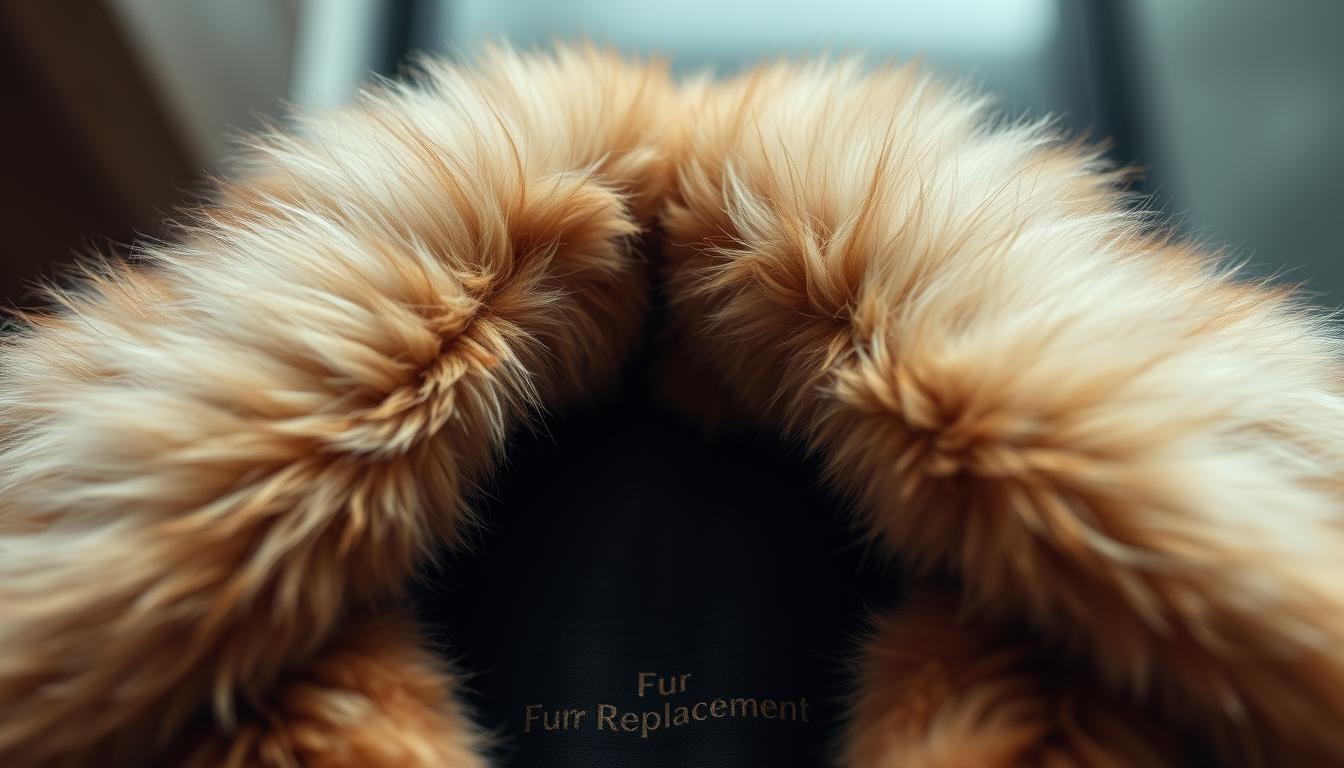
Finishing Techniques for a Luxury Look and Feel
The final passes define how the collar and neck will present when the garment is worn. Small, deliberate steps make the difference between good and atelier-level results.

Fluffing, steaming, and soft edge blending
Lightly steam the faux fur hood from a distance. This relaxes fibers without flattening the pile. Let the steam cool, then fluff by hand to restore loft.
Use a wide-tooth comb to tease trapped hairs at the seam. Soften the seam line so the transition reads like natural material. Shape the collar and neck area so the band frames the face evenly.
For removable designs, check that any tube channel sits flat. Add a few invisible tacks if rolling is a risk. Trim stray fibers inside the seam allowance to keep the interior tidy and itch-free.
Concealing interior stitches for a couture finish
We prefer hidden methods that hold under use. Use a ladder stitch where the piece meets the jacket hood facing. Add a subtle understitch if you want the edge to roll outward slightly.
- Confirm symmetry under natural light and make small adjustments.
- Keep tension balanced where the hood meets the collar so movement stays fluid.
- Final pass: ensure no visible thread along the outer edge and that the fur around the perimeter looks continuous and refined.
Our atelier approach prioritizes clean interiors and refined exteriors—finishes worthy of modern luxury outerwear. Learn more at www.fur-replacement.com.
Troubleshooting Common Issues During Sewing
A few targeted fixes restore symmetry and finish when a project drifts off plan. We focus on quick, safe corrections that protect the fabric and keep the final edge clean.
Pile caught in seam, uneven ends, bulky corners
If pile gets trapped, lift fibers with a blunt needle to free the seam without cutting threads. This restores a soft edge and avoids rework.
- Uneven end returns: re-mark fold-under points and trim interior bulk to square the end.
- Bulky corners: grade seam allowances and taper backing in stages to remove a hard ridge.
- Visible stitch lines on the outer side: switch to a ladder stitch and match thread tone.
Fixing misalignment and wavy edges on curved hoods
Wavy edges often mean the fabric stretched during stitching. Relax stitches, steam lightly, and re-baste in the correct order.
If the hood twists, release a few inches, re-align notches, then re-sew with even pressure to reset the curve. For coats with stiff interlinings, lengthen stitch length and use a walking foot to ease resistance.
Keep a small kit: seam ripper, tailor’s awl, and press cloth. Refer back to technique notes on our page; a careful, methodical approach resolves most issues without harming your items.
Care, Cleaning, and Storage Tips for Faux Fur Trim
Small maintenance steps preserve loft and sheen across many winters. We build trims for longevity and recommend simple habits to keep each piece looking premium.
Routine maintenance
Brush faux fur gently with a wide-tooth comb. Focus on high-friction zones near the hood opening and neck to prevent matting.
Spot clean with a damp cloth and mild detergent. Avoid soaking the backing so the fabric keeps its shape.
After exposure to snow or rain, shake out moisture, blot gently, and air dry away from heat. When dry, fluff by hand to restore natural loft.
Seasonal storage
Use roomy garment bags and wide, padded hangers so items keep their contour. Compressing furs flattens pile and dulls luster.
Place tissue under the trim edge during long storage to avoid imprinting. Keep silica or moisture absorbers nearby to protect the backing and fur fabric.
| Action | Why it matters | Quick tip |
|---|---|---|
| Brushing | Prevents matting near neck and edges | Wide-tooth comb; gentle strokes |
| Spot cleaning | Removes stains without harming backing | Damp cloth, mild detergent, no soak |
| Drying after snow | Prevents mildew and preserves loft | Air dry away from heat; then fluff |
| Off-season storage | Keeps shape and luster | Wide hanger, tissue support, silica pack |
Quick checks: keep a small kit—lint roller, comb, press cloth—and inspect seams periodically. Quick reinforcement of bartacks and joins extends the life of your items.
Explore more care guidance at www.fur-replacement.com.
Style Ideas: From Classic Coats to Cosplay Costumes
Style choices can turn a practical jacket into a signature piece with minimal changes. We design accents that pair with tailored collars and bold costume builds alike.
Our trims are crafted to work with both heritage coats and high‑impact looks. They hold shape in snow and perform well on stage or at a festival.
Elevating parkas, collars, and necklines with trim hood accents
Elevate a wool coat with a sleek band that frames the collar and neck without bulk. Minimal widths in neutral tones add quiet luxury to modern outerwear.
Statement looks for snow days, festivals, and cosplay builds
Build a festival jacket with high-volume pile for texture that resists wind and snow. Cosplay costume projects gain from consistent dye lots and matched pile lengths so the silhouette reads accurate on camera.
- Streetwear: pair bold faux fur with neutral shells for contrast.
- Detachable tube inserts let you swap textures by season or event.
- Revive vintage jackets with polished, plush accents to refresh the coat.
Discover styles and proportion guides on our page and see how small changes lift collars, necklines, and entire outfits. Visit www.fur-replacement.com to explore gallery examples and build options.
Sustainable Luxury: The FUR REPLACEMENT™ Difference Today
Our studio balances material science with handwork to deliver lasting, elegant accents. We design with lifecycle in mind so pieces remain useful across seasons and styles.
Modern sustainability does not mean compromise. Each faux option mirrors the look and warmth of traditional materials while avoiding harm to animals. We select backing, pile, and dyes that withstand weather and routine care.
Why this matters:
- Artisan shaping ensures precise fit to a coat and collar, reducing waste from remakes.
- Durable construction makes repairs simple, extending an item’s useful life.
- Curated items and clear specs on the page help you choose pieces matched to climate and silhouette.
“Luxury that lasts is the most sustainable choice—repair, reuse, and refine.”
| Benefit | What we deliver | Why it helps |
|---|---|---|
| Ethical materials | Certified cruelty‑free faux | Protects wildlife and aligns with modern ethics |
| Longevity | Hand finishing and robust backing | Fewer replacements; lower lifecycle impact |
| Fit & aesthetics | Scandinavian lines and matched pile | Seamless integration with coat patterns and collar profiles |
| Careability | Tested for cold-weather use and simple maintenance | Daily wear without fussy care routines |
Ready to explore? Visit our page to view curated collections and place an order when you are ready. Each selection includes measurements and finishing notes so the piece integrates cleanly with standard hood patterns and interior collars.
Conclusion
The last steps are small but decisive; they lock fit, balance, and appearance. Follow measured checks and gentle finishing to keep lines clean and the profile even.
FUR REPLACEMENT™ offers premium, handcrafted, cruelty‑free pieces that deliver timeless elegance and modern sustainability. Each piece mirrors the look and feel of natural materials with Scandinavian design and durable construction.
You now have a clear path from measuring to the final pass. The result is a balanced fur trim hood that frames the face, complements the neck, and elevates any coat or jacket.
Explore our page and place an order when you are ready. For questions about sewing, diy options, detachable tube systems for snow days, or the right side finishing, contact us at www.fur-replacement.com.