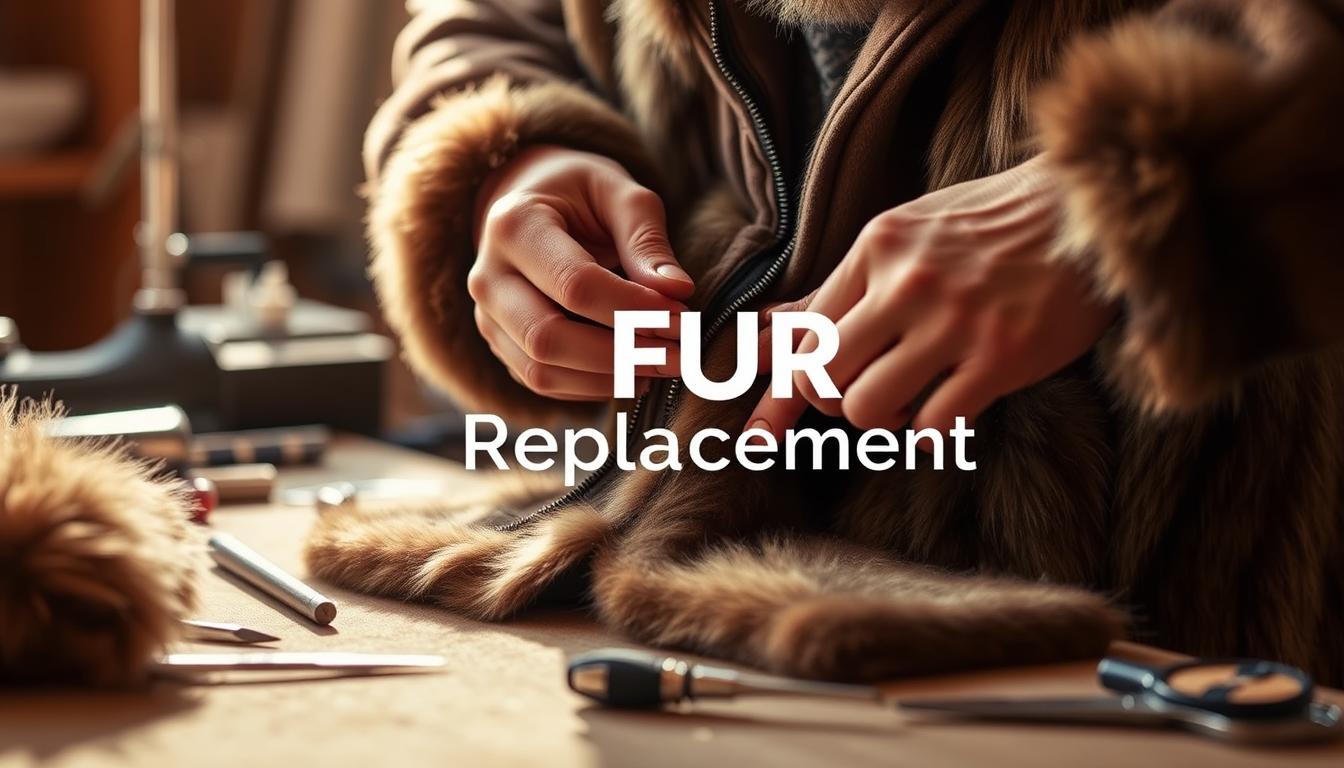
We remember the first time a beloved coat lost its flair. That small tear at the collar felt like losing an old friend. Restoring that line of elegance can be deeply satisfying.
FUR REPLACEMENT™ crafts premium, cruelty-free pieces that bring garments back to life. Our Scandinavian-inspired ruff options blend durability with timeless style. This short tutorial gives a clear, confident way for DIY lovers to refresh a jacket or coat without stress.
Expect a calm, precise sequence of steps. We show measuring, aligning the trim, and choosing the best method—hand, machine, or no-sew—so the result holds up in daily wear. The focus stays on neat edges, aligned nap, and lasting attachment points.
Key Takeaways
- Restore outerwear with premium, cruelty-free replacement pieces.
- Choose the right method for your fabric and tools.
- Measure and align carefully for a polished silhouette.
- Focus on edge finishing for durability in wear.
- Mix techniques to match your timeline and skill level.
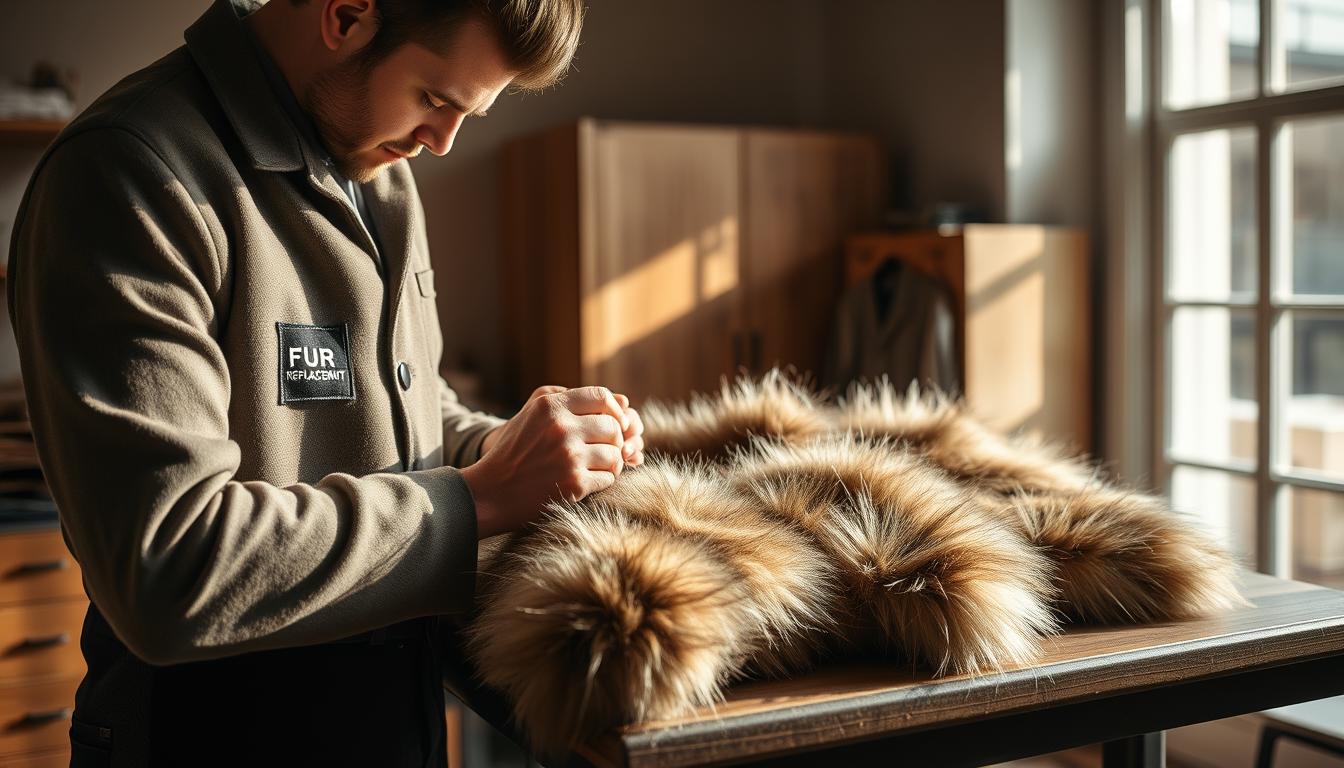
Before you start: tools, materials, and choosing the right faux fur trim
Gathering the right gear and materials sets the stage for a clean, lasting finish. Preparation saves time and prevents common errors. Below are essentials and practical choices for a polished result.

Essential tools and setup
- Assemble basics: a sewing machine with a universal or microtex needle, a hand-sewing kit with sharp needles and waxed thread, fabric-safe markers, and glass-head pins or clips.
- Keep a fine-tooth brush handy to lift pile away from the stitch line and protect the pile while you work.
Choosing materials and comparing options
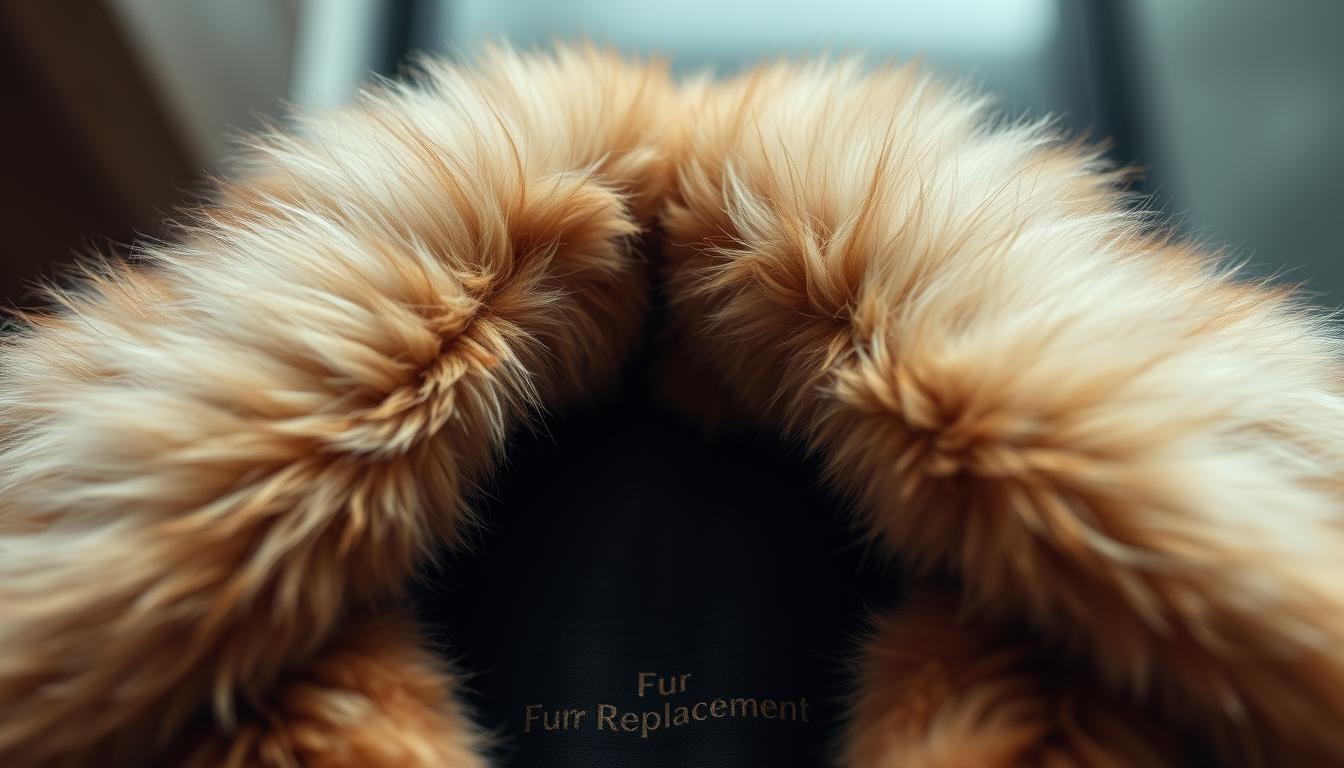
Select high-density faux fur for durability and sheen. Premium faux from FUR REPLACEMENT™ replicates the hand and flow of real fur without ethical compromise.
Measuring and prepping the trim
- Measure the hood edge and any collar overlap in one pass. Note lining depth so stitches sit cleanly.
- Mark the wrong face, find the right side and align nap so the pile flows toward one side. Back ends with narrow tape to prevent distortion.
“Test a small offcut first—confirm tension, needle choice, and stitch formation before working on the main item.”
How to attach a fur trim to a hood
Start with clear quarter marks on both the hood and the fur piece; this simple step prevents stretching and misalignment.
Pin or clip placement: Align one side at the hood edge, then clip at the quarter marks. Fill in clips every 1–2 inches so the ends meet without strain. For corners, ease the backing slightly and lift the right side pile with a pin or awl to avoid bulk.

Machine method
Use a sewing machine set for a straight stitch at 2.8–3.0 mm. Tuck the pile with a stiletto as you stitch so fibres do not get trapped. If the jacket lining overlaps the seam allowance, fold it back, sew the trim to the shell, then re-lay the lining for a clean finish.
Hand-sew method
Finish openings with a ladder stitch for an invisible seam. Take small bites through the backing and the hood seam allowance. Add backstitches at both ends and at high-wear points for longevity.
No-sew and removable options
Magnet-based ruffs, like the patent-pending Namakan Goods design, use super-strong magnets in a slim tube channel for rapid installation. Users report snaps in about 15 seconds and firm hold during wear.
- Removable choices: sew-on snaps every 2–3 inches, low-profile hook-and-loop tape, or micro buttons for discreet attachment points.
- Check drape: Close the hood and view the silhouette. Redistribute fullness so the ruff frames the face evenly and seams read invisible.
“Magnetic ruffs snap into place quickly and hold firmly—ideal for jackets and coats that need frequent cleaning or varied styling.”
Pro tips for a secure, stylish finish on coats, jackets, and sweaters
Small reinforcements make the difference between a fleeting fix and a lasting, polished finish.
Reinforce stress points: Bar-tack or backstitch the ends and front opening corners. These places take daily stress from zippers, snaps, and handling on coats and jackets.
Add a narrow stay tape along the hood edge before sewing the trim. This preserves the line, prevents stretching, and supports the weight of dense fur.
Shaping for curves and a tailored look
Gently notch the backing on the side that curves inward. Do not cut the pile. Notches let the piece contour around hood and collar curves without puckering.
For removable systems, sew a slim tube channel to hold magnets or a boning-like stabilizer. The tube keeps the attachment straight and helps the trim hood sit flush.
- Steam the backing lightly after sewing, then brush the pile forward for loft and an upscale finish.
- Keep stitch lines even; a 3–4 mm allowance balances security and flexibility across projects.
- When using a machine on delicate fabric, drop presser foot pressure and use a walking foot to avoid rippling.
“FUR REPLACEMENT™ pieces are engineered for repeated wear, with reinforcement that preserves the garment’s line and luxury feel.”
Care, maintenance, and troubleshooting for faux fur around the hood
Gentle, consistent cleaning protects the backing and maintains rich texture. Regular care keeps the pile lively and extends the life of coats, jackets, and sweaters with trim.
Detangling and reviving pile: Shake the item, then brush the fur hood with a soft slicker in short strokes. Follow with a light steam pass from several inches away; this loosens tangles without wetting the backing.
Store garments on broad-shoulder hangers and keep removable pieces in a breathable bag. Avoid compression that creases the backing or flattens volume around hood edges.
Fixing common issues
- If seams look uneven, the usual reason is stretched backing. Unpick a short section, ease the trim, and restitch while supporting the fabric by hand.
- Misaligned nap reads dull. Lift fibers with a comb, rotate the piece, then restitch one or two small steps to match flow.
- Bulky corners come from overlapping ends. Taper the backing, feather the pile, and close with a hidden ladder stitch so corners sit flat.
Removable systems and magnets: Magnet-based faux ruffs snap on in about 15 seconds and hold firmly. Detach them before laundering jackets or sweaters for easier cleaning and off-season storage. Check tube channels and magnet runs each season for straightness and security.
“Leave a brief comment in your project notes on needle size, stitch length, and prep—so future DIY steps repeat success.”
Conclusion
Close the project with steady hands and a quick quality check at each end. Confirm nap direction and the right side alignment, then secure any high-wear spots with backstitches or a short bar tack.
You now have a clear, repeatable step that works for most coats and fleece-lined hoods. Choose a sewing machine pass or neat hand sewing depending on your tools and the amount of fuss you want.
Select premium faux fur and a supple backing for smoother stitching and lasting results. Consider removable builds with a slim tube for magnets or snaps when frequent cleaning matters.
We believe craftsmanship and sustainability can coexist. Explore handcrafted, cruelty-free options at FUR REPLACEMENT™ and leave a quick comment about your results so future projects run even smoother.