I remember the first time I leaned into a cold wind and felt a hood that still held its shape and warmth. That small comfort matters. It links memory to function and to how we care for things we rely on.
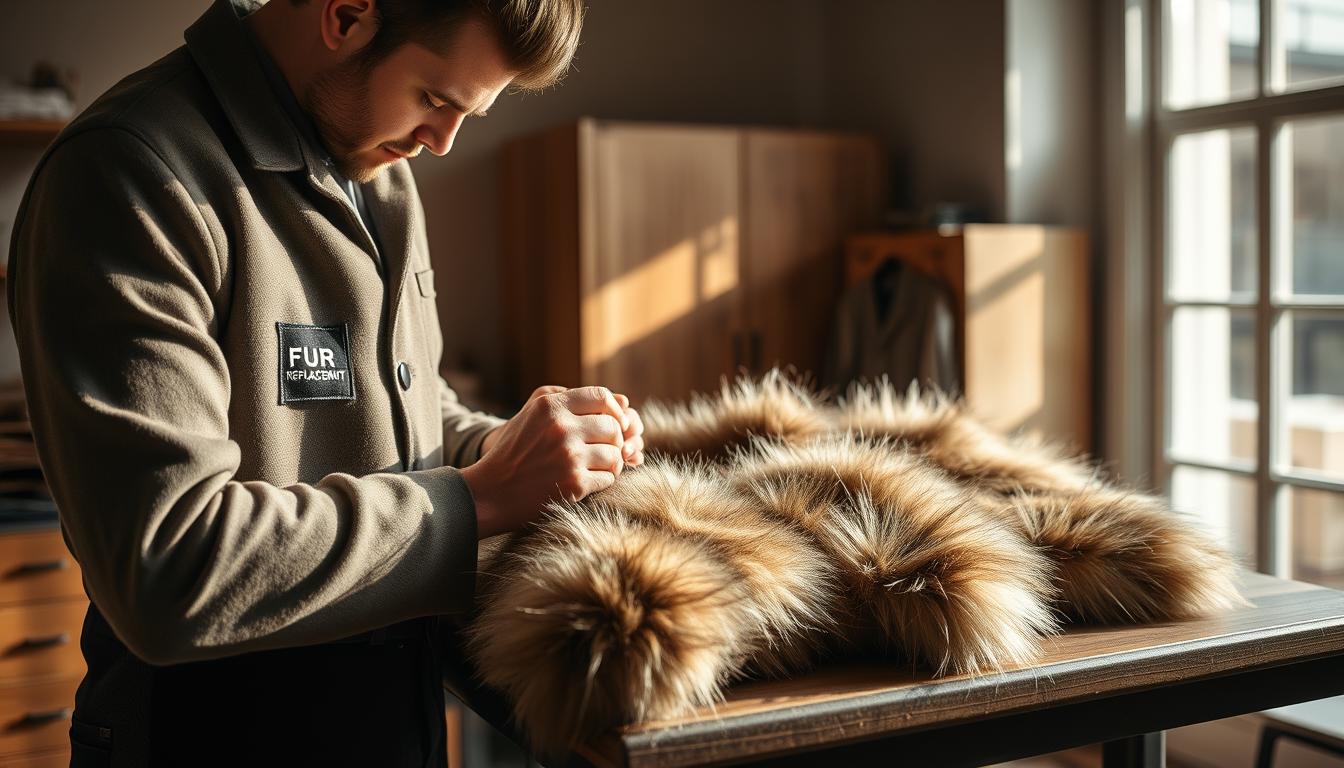
At FUR REPLACEMENT™ we honor that bond with handcrafted, cruelty-free trims. Our Scandinavian design blends durability with quiet luxury. We match pile, density, and flow so a parka keeps performance and gains refined style.
Whether your coyote trim shows wear, matting, or you prefer ethical materials, we offer clear options and expert workmanship. You’ll see transparent guidance on cost ranges and timelines, and know what to expect from DIY or professional choices.
Key Takeaways
- FUR REPLACEMENT™ offers handcrafted, cruelty-free trims that preserve warmth and elevate aesthetics.
- Trim work fixes damage, restores pile, and lets you choose ethical or authentic materials.
- We provide clear options: local specialists, mail-in, DIY guidance, and transparent pricing.
- Scandinavian design principles ensure balanced pile height and lasting durability.
- Expect dependable stitching, material integrity, and attentive U.S. shipping support.
Restore Your Canada Goose Parka Today: What to Know Right Now
If your parka shows tears, bald spots, matting, or color shifts, act now to keep warmth and style. Small issues grow fast; fixing a hood early saves time and cost.
Choose the right path: DIY saves money but needs patience and tools — seam ripper, heavy needles, strong thread, and careful stitching. A professional finish costs more but delivers consistent quality and durability.
Consider function and look. The correct fur density and pile height restore wind buffering for winter commutes. Match backing, length, and attachment points to your jacket model for a seamless fit.
- Quick process overview: measure, align, secure, stitch, reinforce corners.
- Cost guide (typical): DIY faux $40–$120; DIY genuine $95–$250; third‑party $150–$300; official program $200–$400.
- Longevity tip: a well‑installed trim plus gentle brushing and air drying can extend performance for years.
We help you weigh options and select premium, cruelty‑free, handcrafted trims that echo natural aesthetics while supporting sustainability. Learn more at fur-replacement.com.
Canada goose fur replacement service near me: how to choose the best option in the United States
Choosing the right repair path preserves performance and avoids surprises in cost or timing. Start by weighing convenience against craft. Local drop-off can be fast and hands-on. Mail-in expands your options and often gives access to specialists across the U.S.
Local drop-off vs. mail‑in: coverage, shipping, and turnaround times
Local shops may finish work in a few days. Reputable third‑party providers typically quote 5–10 business days. Official channels can take longer but include assessment and genuine parts.
What to look for: materials, stitching quality, matching hood specs, and price transparency
Ask for dense pile, consistent backing, and fibers that match movement and drape. Inspect stitching: small, even stitches, reinforced ends, and neat corners along the hood.
Demand transparent pricing. Confirm labor, materials, and return shipping before you send jackets. Clear documentation and QC photos are a plus.
Warranty implications and why choose us
Official repair maintains warranty but costs more ($200–$400). Third‑party work is often $150–$300 with quicker turnaround. DIY materials range from $40–$250.
We provide cruelty‑free, handcrafted trims with Scandinavian design and luxury aesthetics. Our U.S. shipping, careful packaging, and documented QC support a smooth, high‑quality experience.
DIY fur trim replacement for Canada Goose: step‑by‑step guide
Good results begin with patience—lay out tools and study the original stitch line before you touch the trim. This process favors steady hands and careful observation.
Essential tools and materials
Assemble a kit: seam ripper, sharp fabric scissors, heavy‑duty needles, strong thread, measuring tape, fabric tape or pins, thimble, and a 22–24″ replacement trim.
Removing the old trim safely
Turn the jacket inside out and study the stitch path. Unpick stitches slowly and clear residual thread so the new stitch line sits clean and true.
Photograph the hood attachment from multiple angles. These photos guide alignment and spacing during reassembly.
Preparing and attaching the new trim
Measure the hood opening and add a ½” allowance at each end. Align the backing to the inside edge, then tape or pin at intervals to prevent shifting.
Sew small, tight stitches with even tension. Double back at stress points and reinforce ends so the trim resists tugging when using the zipper or adjusting the hood.
Pro tips for a professional finish
- Use consistent stitch spacing and maintain steady tension.
- Reinforce corners; they take the most strain.
- Finish by fluffing the pile with fingers or a wide‑tooth comb to restore natural volume.
We encourage a craftsman approach: slow, precise work with premium, cruelty‑free materials designed to emulate natural fur behavior. Explore our handcrafted replacement fur at fur-replacement.com.
Real coyote vs. premium faux: choosing the right fur trim replacement
Deciding on a natural trim or a precision‑engineered synthetic comes down to performance and ethics. Start by matching use — city commuting, alpine days, or weekend travel — with the trim’s job: block wind, hold loft, and maintain shape.

Performance and aesthetics
Compare wind blocking, density, pile height, and fiber memory. Real fur often has natural variation and strong wind diffusion. Premium faux now emulates that density and texture with engineered fibers.
Color matching matters. Consistent hues modernize a jacket, while natural variegation adds depth.
Ethics and sustainability
Ethical priorities steer many buyers toward cruelty‑free and recycled fibers. Premium faux delivers easier care, hypoallergenic potential, and better water resistance.
Low‑quality synthetics can look artificial and wear faster. Assess backing strength and stitch retention for long life.
FUR REPLACEMENT™ materials
Our handcrafted trims are engineered to emulate guard hairs and underfur for both structure and softness. Scandinavian design guides pile balance and a refined silhouette.
- Options tuned to climate, frequency of use, and desired aesthetic.
- Durability driven by fiber quality, backing, and stitch integrity.
- We help you choose the right replacement fur for long‑term performance.
Costs, shipping, and timing: planning your replacement
Plan budget and timeline up front to avoid surprises during a trim swap. Clear expectations save time and keep your coat ready for cold weather.
DIY vs. professional service: typical cost ranges and what’s included
DIY materials run from $40–$120 for faux and $95–$250 for genuine trim. These figures reflect material price and basic tools, not time spent.
Third‑party shops typically charge $150–$300. That price usually includes materials, labor, and basic quality checks.
Official Canada Goose repairs often fall in the $200–$400 band and include assessment, authentic materials, expert installation, QA, and return shipping.
“Transparent pricing and consistent craftsmanship are the two things you should insist on.”
Shipping and turnaround in the U.S.: average days, mail‑in logistics, return policies
Mail‑in programs expand access to skilled shops. Third‑party turnaround commonly takes 5–10 business days. Plan around travel and commute needs.
- Set a realistic budget: compare DIY materials to pro labor and your time.
- Confirm what the quoted price includes before you book.
- Verify insured shipping, packaging instructions, and return policies for mail‑in work.
- Allow buffer time for installation and a final fit check on your jackets.
We support U.S. shipping with careful packaging to protect pile and backing. Keep receipts and work documentation for future maintenance or warranty discussions. Explore full details and options at www.fur-replacement.com.
Care and maintenance to extend the life of your replacement fur trim
A small routine goes a long way in preserving pile, shape, and warmth. Follow simple daily steps and seasonal habits to protect the trim on your goose jacket and keep the hood performing through winter.

Daily and seasonal care
Brush gently with a wide‑tooth comb along the direction of the pile to detangle and restore loft. Do this after use or when the trim looks flattened.
Shake off snow and let the trim air dry at room temperature. Never use heat tools or direct sun; they can distort fibers and reduce life.
Hang the jacket with space around the hood to avoid crushing. For off‑season storage, choose a breathable garment bag in a cool, dry spot away from light.
Professional cleaning cadence and products to avoid
Avoid detergents, fabric softeners, and strong spot cleaners on delicate pile. These products can strip natural oils and weaken synthetic fibers.
We recommend professional cleaning and conditioning every one to two years depending on wear. Proper cleaning preserves loft and can extend performance by several years.
- Brush along the pile to detangle and maintain silhouette.
- Air dry at room temperature after moisture exposure.
- Inspect stitching annually; reinforce loose ends early.
- Keep a care kit: comb, lint brush, breathable cover by your entryway.
Thoughtful care supports multi‑year performance and preserves the trim’s luxury hand‑feel. Learn more at www.fur-replacement.com.
Conclusion
A careful trim swap restores both performance and the refined look your jacket deserves. Choose the path that fits your skill and timeline: DIY for control and savings, or a trained craftsman for a luxury finish.
We stand behind premium, cruelty‑free craftsmanship and Scandinavian design that prioritize fit, pile balance, and durable construction. Match length, backing, and stitch placement so the hood and zipper align cleanly.
Protect your investment with simple care: gentle brushing, air drying, breathable storage, and periodic professional cleaning. For step‑by‑step help, see our how to replace Canada Goose fur guide and restore your parka with confidence.